|
|
Start * Lösungen * Bilder * Hilfe * Kommunikation * Ende
|
|
|
Video-Walkthrough see below
What's this all about? Let's have a look... An orrery is a mechanical model of the solar system that illustrates or predicts the relative positions and motions of the planets and moons, usually according to the heliocentric model. And such a device was already shown in one of the Tomb Raider movies. The Orrery – Follow the path of the Deathless Near the Ridgeline base camp move the stairs up and then down the small corridor. Just smash the wall there and proceed until you reach a bar. Down to the left I saw the blinking of a survival cache. From the other side you could use some broadhead arrows in order to reach the next area. At the wall you have to shoot two arrows in the lower part and one in the upper part, then you can jump over. Beware! When you reach the last wall you can use the broadhead arrows again to climb up and get a backpack. Now use the Solemn Crevasse base camp. If you swim further you'll notice a survival cache to the right (shown on your map). Proceed until you reach the orrery. If you push RS you'll see that one orb will lighten up. Pull this one near (with a rope arrow), now you can jump on the pole and further to the center of the construction. Push RS again and you'll see the next glowing orb. You have to pull it until it glows no longer. Now pull the orb to the left until it stops glowing – at this point a bar, a pole and another bar should glow. Jump to this bar (the wooden plank) and Lara can climb up in order to get on the pole. Balance over this pole and jump to the left (the bar with the loops). While jumping you have to press X for your grapple axe, then Lara swings over to the next pole and the next wooden plank. Climb on the pole and jump in the upper right direction (using X!). There are coins on the floor and you'll see some kind of wooden bridge. Push X and push it forward, this will remove the 'bridge' from the orrery construct. Jump via the small ramp and X (grapple axe) to the center of the construction, you'll see another wooden bridge. Go there, look at the wall painting and release this 'bridge' in the same way as before. Now the orrery is free to move...
Now it's getting tricky. Go to the small ramp and push RS – you'll see two glowing bars. You have to use one of them with your grapple axe (X) in order to swing to the center. Then jump on a wooden plank (when it's near) and climb up to the pole. Push RS again and you see small glowing bars – jump over. Now wait until Lara says 'Now!' and release with B. If you push RS again, you'll see that you have to jump on one of the bars, again move on top to the pole and push RS. You'll see that you have to jump to the bar in the center... do this, climb upwards until you see a pole above you, a message appears (hit the jump key) and push X also. If done right you should be on top. Use one of the walkways, grab everything and go to the survival cache down in the corridor (shown on your map). Then use your broadhead arrows with the little wall and shoot two more into the big wall. Jump over, then use more arrows in order to reach the exit... Path of the Deathless – Through the glacier Proceed and push RS every now and then in order to see all the goodies as well as a document in the snow. Follow the short path to the left, there's a treasure map. Now move through the gap and keep on climbing until you finally reach the Hall of Guardians base camp. Savegame 21 = Start of the next part (21th slot in my 100% Savegame, which contains 29 slots)
Proceed just along the wall, you'll
find a document to the right and then you'll reach the Icy Bluff
base camp. Loot the
place and use the zipline in order to reach... The Path of the Deathless – The Lost City
Move on, then the action quickly begins!
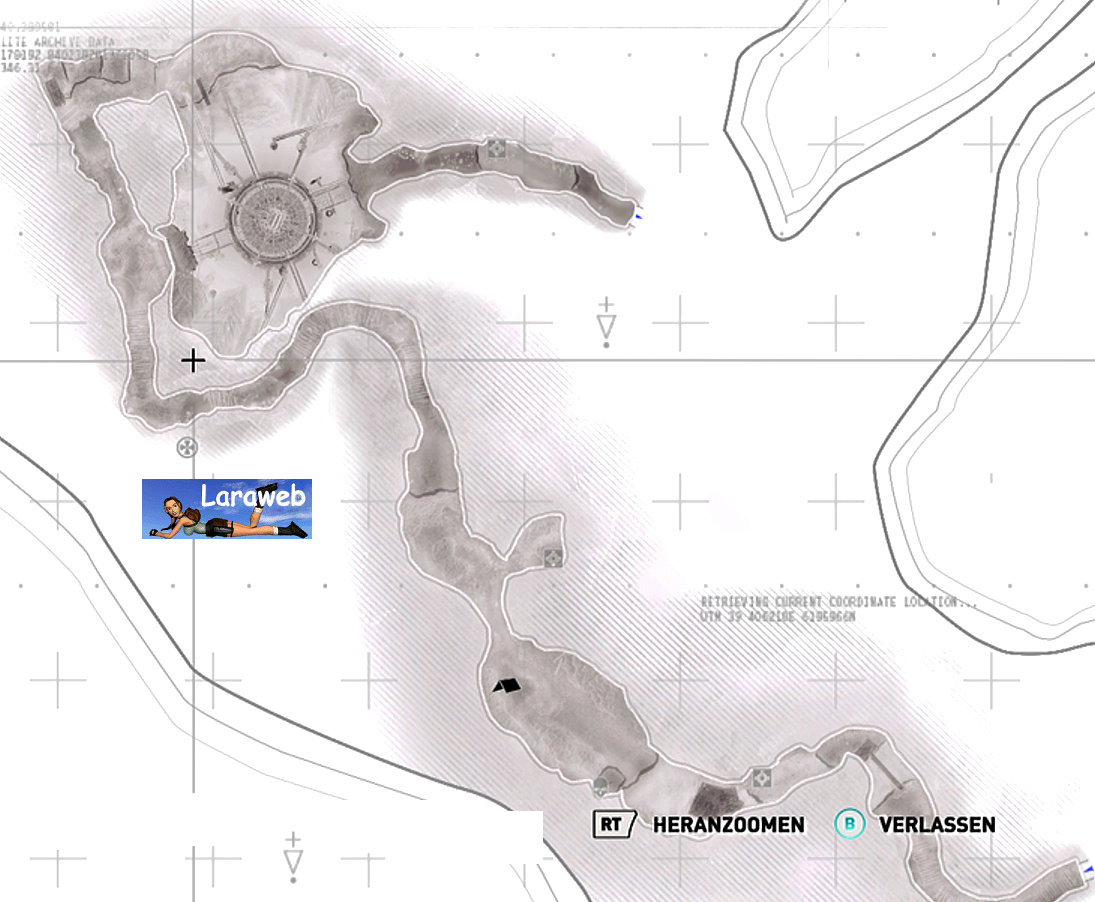
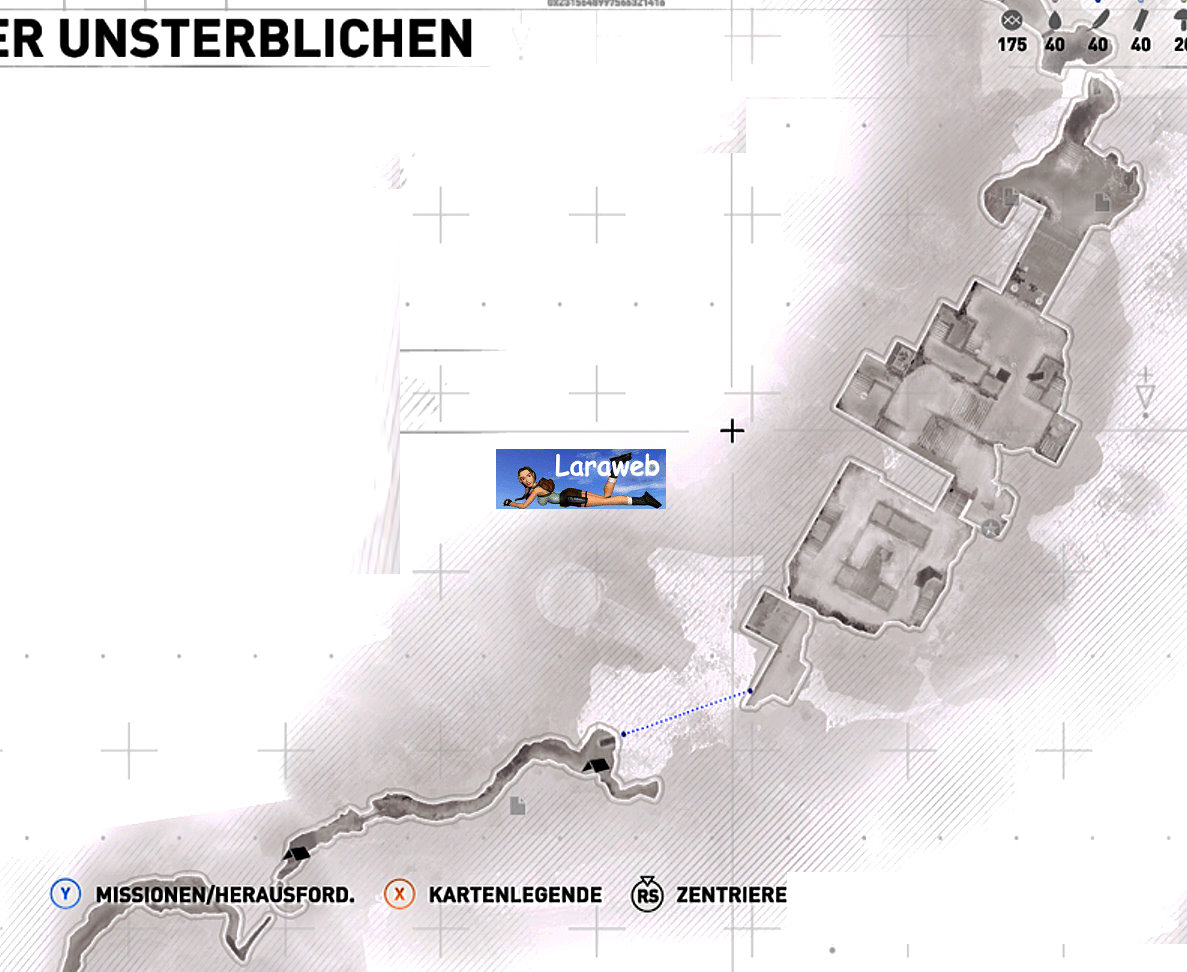
Here is the
map
of this area, unfortunately you have to look very close in order to recognise
everything but you can print it out (you can also paint it, if you like
Map normal - Map print version Click to enlarge!
Look
at the German Version.
Letzte Aktualisierung: 26.06.2021
Last update: Juni 26, 2021 Hit F5 to refresh, to see the latest version of this page! |
||
|
back to top |
|
|
|
|
||
|
|
|
|
|
|
||
|
© by Laraweb | ||